Due to increased solar activity in recent years, which shows no signs of decreasing, photography of the Aurora Borealis is becoming more popular. This tutorial will give you an essential guide on how to set up your camera to capture the Aurora Borealis. It is an approximate science since the intensity of the Aurora and the available light can vary significantly. However, it will provide a “baseline” from which you can begin your experiments, empowering you to adapt and learn as you go.

Table of contents
Estimated reading time: 5 minutes
The Dance of Light: Shooting the Northern Lights

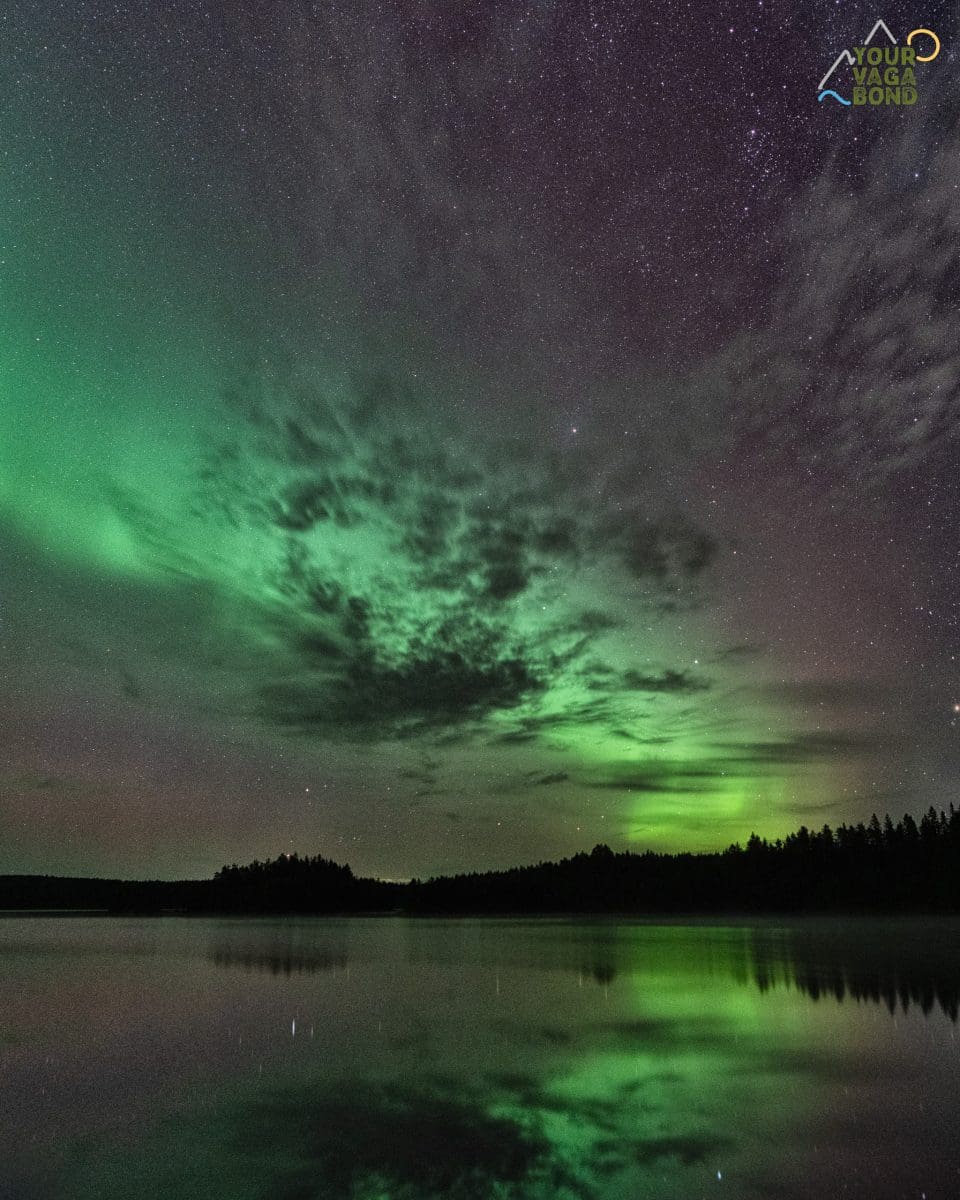
The Aurora Borealis is a breathtaking and transient spectacle, especially in the far North. The thrill of capturing it before it fades away is unparalleled. Remember, longer exposures create smoother effects, potentially reducing the ‘curtain’ effect. This dynamic Balance between exposure time and high ISO settings adds to the exhilaration of capturing the perfect Aurora shot as you experiment with settings from your ‘baseline.’ Remember that current conditions, such as the intensity of moonlight, the Aurora itself, and light pollution, can change rapidly, further heightening the excitement of the chase.
Delve here into my story about an Aurora chase across Sweden.
White Balance Adjustments: Perfecting Your Photos in Post-Processing

White Balance: I strongly advocate for shooting in RAW format, as it grants you the flexibility to tweak settings during post-processing, empowering you with maximum control over your final image. Setting the White Balance to auto is a good starting point. In post-processing, begin by adjusting the value between 2800 and 4000, depending on the effect you wish to achieve.
Choosing the Right Aperture: A Beginner’s Guide

Aperture: Generally, the wider the aperture, the better. An aperture of f/4 or lower is a great starting point. However, be aware that a much wider aperture (e.g., f/1.8 or f/1.4) will narrow the depth of field, potentially causing the foreground to blur. Thus, wide-angle lenses (16mm or 18mm) can significantly reduce this effect.
Visit my Tutorial about Long-Exposure Photography.
From Quick Snaps to Long Exposures: Aurora Photo Techniques

ISO and Shutter Speed: These two settings are intricately linked, and you must fine-tune both to achieve the desired results, which largely depend on the speed and brightness of the Aurora across the sky.
Typically, a shutter speed between 5 and 25 seconds is sufficient.
A sturdy tripod is a must for this.
A shutter speed of 1 to 5 seconds is preferable when the Aurora is in rapid motion.
If the Aurora is moving slowly or is stationary, experimenting with exposures ranging from 10 to 30 seconds can be effective.
To achieve the correct exposure, adjust your ISO settings, starting with ISO 400 to 800 baseline. It’s helpful to take a test shot and make adjustments accordingly; for example, increase the ISO if your image appears too dark.

Once-in-a-Lifetime: The Unpredictable Beauty of Auroras

Chasing and capturing auroras, commonly called the Northern or Southern Lights, offers an exhilarating and rewarding experience. The display of colorful lights dancing across the sky is truly mesmerizing. Each aurora display is unique, and the unpredictability of when and how vividly they will appear adds a thrill akin to witnessing a once-in-a-lifetime event. You should venture out into nature and experience this for yourself.
